Home

Sugiura Shelvin’

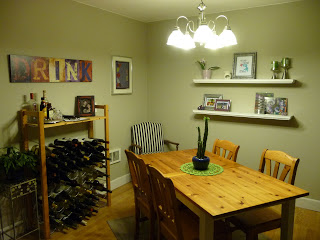
Before: A blank wall with no love.


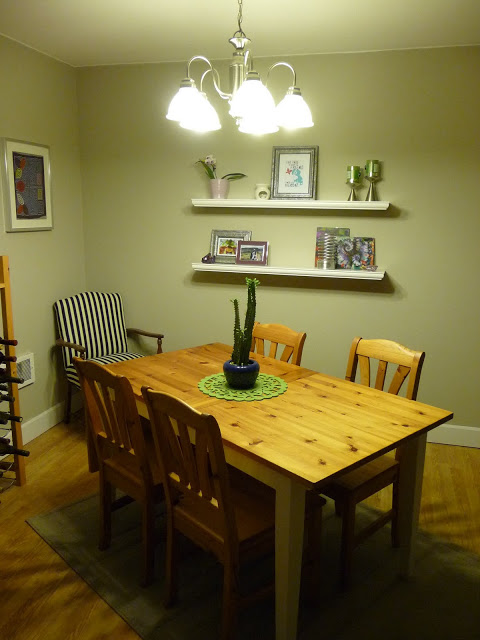
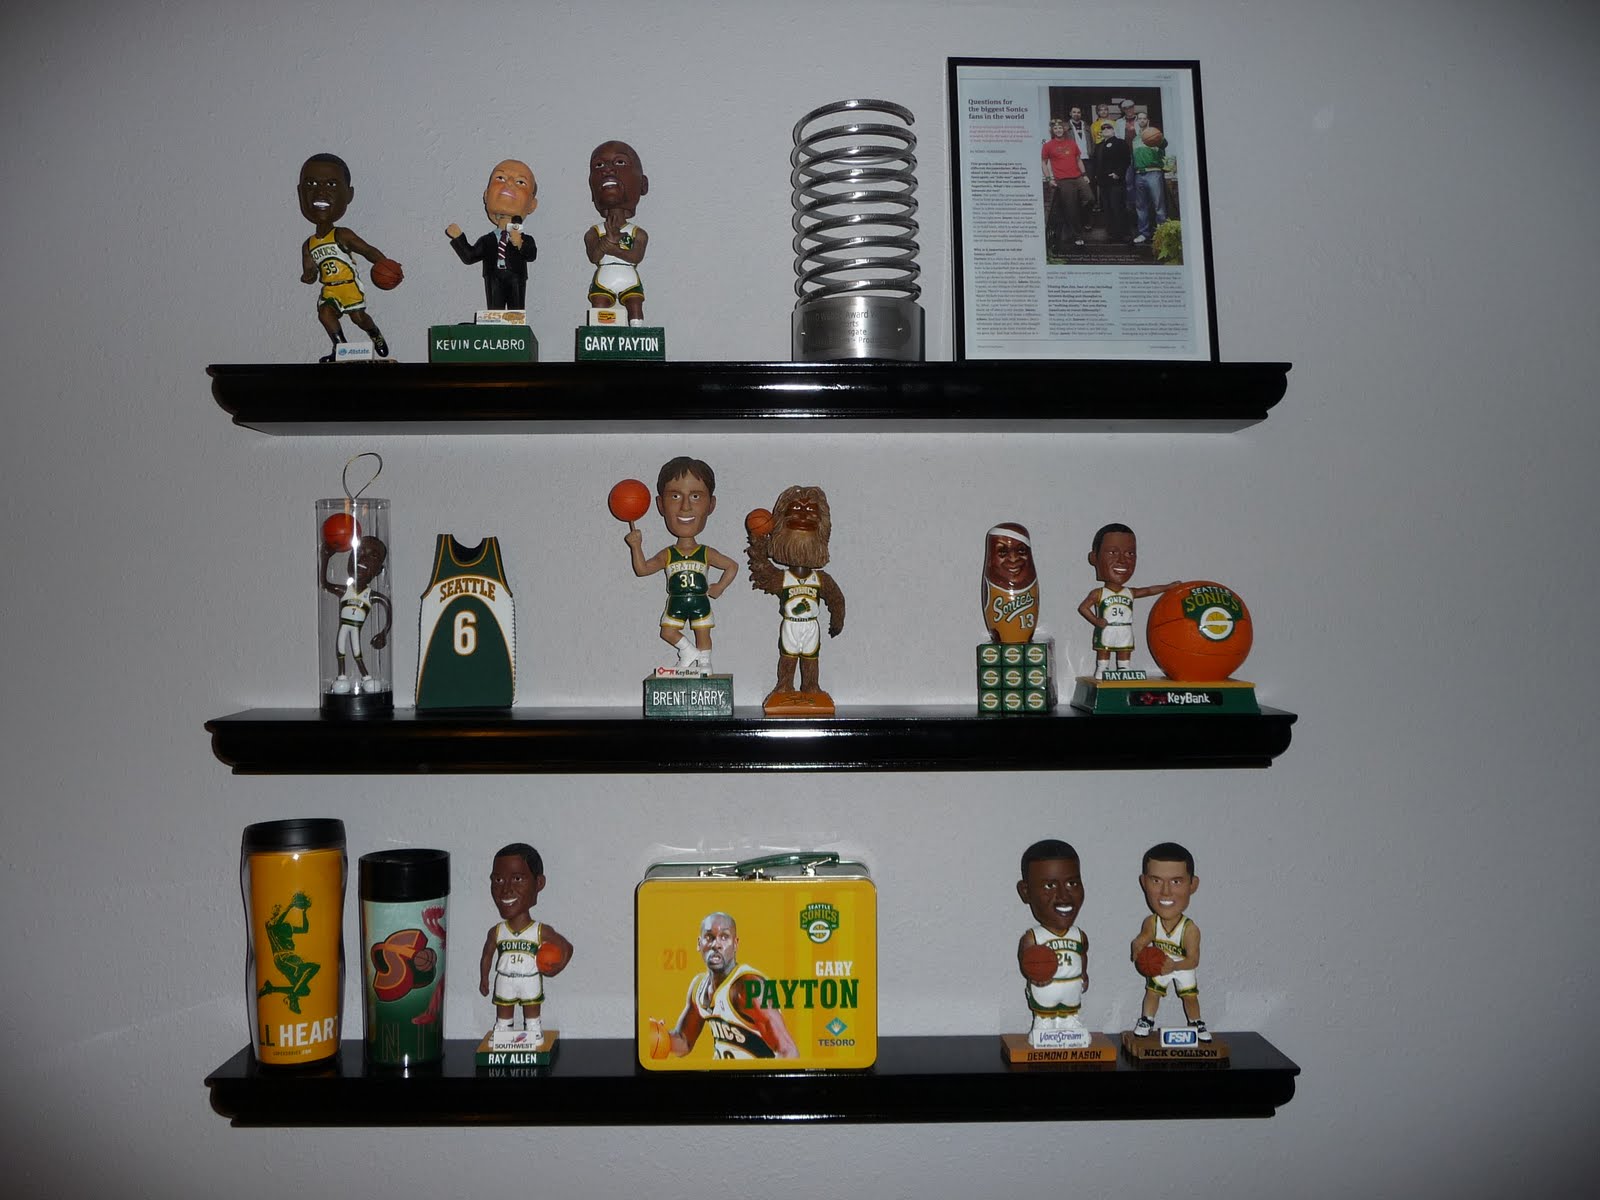
After: A wall with a ton-o-love!
Finally got my dad over to the condo to install my last set of shelves – I swear – these will be the last ones! We planned on doing a “Sugiura Shelving 101 Class” but found out these installed very differently than the other two sets I’ve got in the house. Oh well.
I’m obsessed with these ones – Home Depot carries all sorts of lengths and colors! I love how you can put whatever you want on there to create tons of different looks without putting 50 holes in the walls for pictures. Currently, I’ve got the orchid/art photo/Webby Award look going on (promised the BF I would move his award out into the main room when the shelves went up!) Can’t wait to find more fun knick-knacks to put on them!
facebooktwitterpinterestinstagram

Shelvin’ the Sonics…well kinda.


Yes, our guest room is entirely cloaked in green and gold. Our compromise was that he could have this room to display all of his knick knacks as long as I could have the rest of the condo! I think it was a fair trade šŸ™‚ The BF got all of these cool Sonics giveaways from a season ticket holder and I thought it would be cool to display them – in comes handyman Keith who helped me install these shelves the other weekend. I think everything looks mighty cool all displayed like that – especially that Webby Award!

facebooktwitterpinterestinstagram

Da Deck

Our little deck is in pretty bad shape – paint chips, scratches – it’s a total mess. Decided it was time to tackle that project since we’re gearing up for summer. I love sitting outside, but I hated looking at that deck. Spent a few days pressure washing, scraping and sanding it then got a lucky break in the weather and was able to stain it with a solid stain (looks like paint, but stains like stain, if that makes sense). Now I can fully enjoy my outdoor space without having to look at that eye sore of a deck! Hurray!

Photo: Deck post-pressure washing and sanding.

Photo: Halfway done painting.


Photo: Finished deck!
facebooktwitterpinterestinstagram

Another Craigslist Find

The craigslist gods were on my side this week. I snagged an awesome tall dresser for our master bedroom. I had been looking for a dark stained one that would fit in between our closet and window and this one totally fit the bill. Our room is finally feeling put together! Now, I just need to figure out a solution to cover up the wall-to-wall closet….

facebooktwitterpinterestinstagram

Installing sticky tiles in a bathroom

Before placing the sticky tiles - cultivatedrambler.com
So I just completed my first real do-it-yourself project all by myself: installing sticky tiles in my dated bathroom. I had read about them on a few home improvement web sites and it seemed like it would be an easy project so I added it to my infamous ‘To Do’ list for the weekend. Thanks to the Home Depot, I now have fab floors for less than $70!

It did take a bit of muscle and I did have to re-do a few tiles more than once due to inaccurate (and impatient) cutting, but overall it was a fairly painless project. I would definitely suggest laying them all out first before peeling and sticking; I had a few tricky areas and it was good to see where those ended up. It’s not 100% perfect (nothing an area rug can’t cover), but it’s a vast improvement!

Now all I need is for my dad to come over and finish up the trim. Oh and all of that electrical business too (thanks Dean for your expertise this weekend!)….it’s never ending around here…..

Sticky tiles installed on a bathroom floor - cultivatedrambler.com
Related Posts Plugin for WordPress, Blogger...facebooktwitterpinterestinstagram