I’ve had some free time on my hands lately and have been scouring etsy for coming home outfits which made me remember that I have a sewing machine and basic sewing skills. Duh! ***Side note: why do all coming home outfits have freaking arrows on them? Please, for the love of god, no more arrows people.
Not sure if I’m ready to tackle an entire outfit, but it did send me into the depths of the internetz to find some easy baby sewing projects that will keep me busy on the weekends. And who knows, maybe I will be ready to try and sew her something to wear by the end of the summer!
So here’s what I’ve been working on. Most were made with scraps of fabric I had collected over the years. Gotta love almost free projects!
Taggie blanket that crinkles! The secret to a good crinkle you ask? Plastic cereal bags. Mind blown.
Burp clothes. I think a 5 year old could make these – they were SO easy.
I also have a cute fleece animal ear hat flagged on Pinterest as well as a flannel rag blanket. Oh and headbands. Gotta have the headbands. More to come on those projects soon!
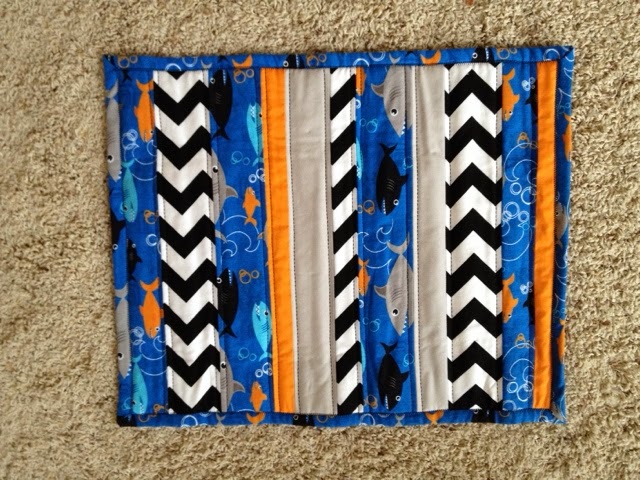
I thought I would share one of my recent sewing projects that ended up being a holiday gift for my sister’s cat, Tuna. I know, I know….presents for cats……we’re a strange family around here.
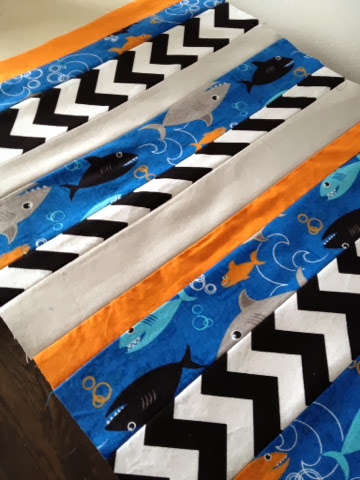
I used the same technique as I did for Stella’s quilt, which I made a few months back. I simply picked a few fabrics I liked, the main one being these cartoon sharks, cut them into different sized strips, sewed ’em together, batted the back, quilted a bit, then finished it off with self-binding edges. It’s really so simple 🙂
Things I learned with this project:
When using a fun patterned fabric, be sure to give yourself additional fabric for seam allowances – I lost a few sharks that way because I forgot to calculate the actual sewing part. My bad.
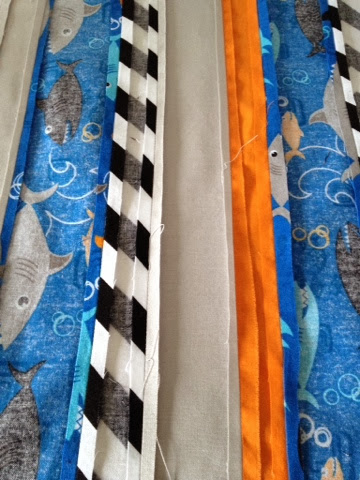
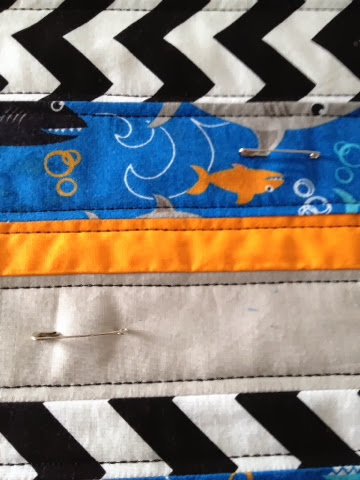
When piecing this bad boy together, I laid out the strips in the order I want them to be then sewed the first and second ones together, third and forth together, and so on. Once those were paired up, I went back and pair them up again…and again….until they were all sewed together. This method helps keep your sewing lines straight and your fabric from going wonky. I found this blog to be helpful!
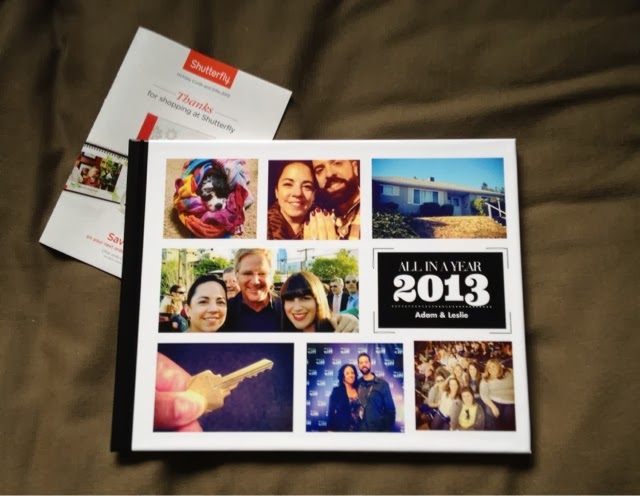
Oh man, I was so excited to get this in the mail last week! Hello beautiful 2013 yearbook created by yours truly!
I started this tradition last year and made a lovely little book from Shutterfly with the help of a Groupon. Although a Groupon was not to be found this year, I was determined to continue this tradition, discount or not, and began making it over Thanksgiving whilst sick in bed. This is a great sick project – all you need is your computer and your photos – and maybe some hot tea :-/
I used to love scrap booking as a kid and I still have some supplies from that “retired” hobby tucked away in my craft room closet. Man, those were the olden days! Cutting your own paper and printing out pictures?! Get out! Why do that when you can go online and create something that looks WAY better with just a few clicks? I’m a lady of convenience, what can I say? I like to keep my layout simple so I usually go with a black and white theme, light on the decals and stickers. I’ve found that it’s good to go through your photos first and put all of the best of the best ones in a folder, which you can then download into Shutterfly. You don’t want to be uploading 1,000+ pictures my friends. Trust me on that one.
I like to keep my pages in chronological order so I just begin arranging the photos in that manner. Once I’m digging the photo arrangements I then work on captions and finally the extras – borders, stickers and such. When I think I have it complete, I walk away from it for a few days, then come back with fresh eyes, then do that again. Luckily, the program gives you hints if something is off or won’t print right. I have had issues with Instagram photos being too low res. When that happens, I just usually place them in a smaller photo frame. If anyone knows a fix around that, lemme know!
This year, I upgraded to a hard cover book, which is a bit more pricey but SO worth it! You can even customize the book spine – too cute! In the end, I think I paid about $45 for this project. Not bad for a 20-page, hard bound custom book if I do say so myself.
How do you share and showcase your photos? Are you an old fashioned, print ’em out sorta person or a new age, electronic only picture sharer?
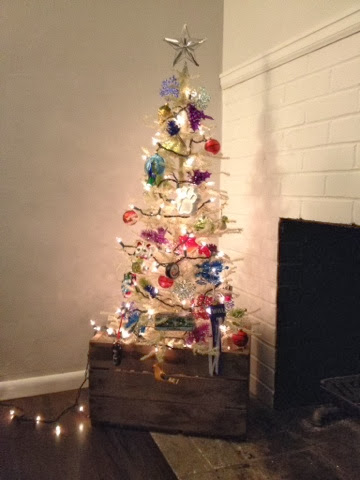
My poor faux tree is too mini for our living room. Time for an upgrade!
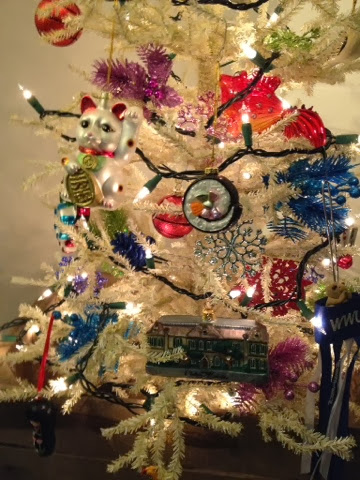
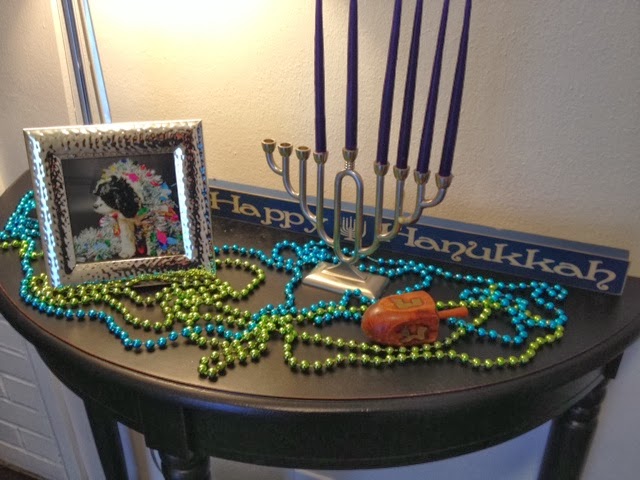
Just a few holiday updates from your truly! Below, are a few pics of some of our holiday decorations that were put up last weekend. Everything I had from the condo looks uber dinky in our new house so I’ll def be hunting for decor sales after the holiday. A taller faux, flocked tree, sparkly swag and outside lights will top the list – day after Christmas Target shoppers beware! I’ll be throwin’ elbows for those glittery thangs! I’ve also tagged a few interesting craft projects on Pinterest like this and this. Hopefully I can tackle some next fall in time for the 2014 holiday season. JK, I’ve got a wedding to plan….blargh.
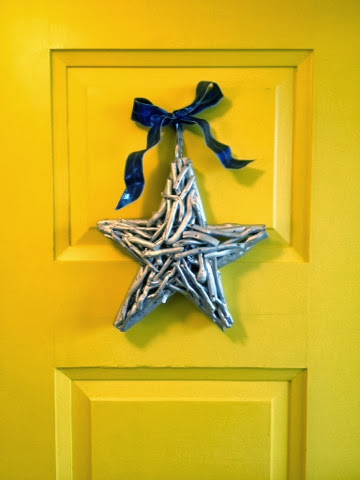
Our yellow front door always looks a bit more festive with a lil somthin’ somethin’
Holiday shopping is well underway in our household. I spent the day after Thanksgiving on the couch, iPad in hand, ordering gifts and most have already come in the mail. And….wait for it….50% are already wrapped and under the tree! I don’t know how I got so ahead with gifts this year – I’m kind of amazed with myself. And most importantly, I have yet to set foot in a mall! (Happy dance.)
I haven’t spent much time in the kitchen lately but am looking forward to cooking a few holiday treats this coming weekend. My first attempt at caramels last year was a success BUT I’ve managed to lose the recipe – WTF? All I have is one picture from the blog, where there’s like 4 sticks of butter and a lot of brown sugar in a large pan. I’m hoping those hints will help me find my killer recipe. UGH. I’m also on the hunt for THE PERFECT holiday cookie to bring to the family party. Not sure exactly what that will be, but they need to look interesting and taste good. I know, I know….I have high standards 🙂
So what are you doing to bring on the holiday cheer this year??
Oh man, this title makes me think of Game of Thrones….and you know how much I like me some GoT! OK, back to what this post is really about……
In our old condo, I had started a bit of a wall collage over our couch. I loved that you could just bring in all sorts of random items, mix ’em all together and have this cool, almost scrapbook type thing on your wall. When we moved into our new home, I knew that I’d def want to do something similar somewhere in the house. Our living room is a funny shape so I didn’t think it’d be appropriate there and I’ve seen many cool ideas on Pinterest for an entry area, but that didn’t feel right either. I finally landed on our hallway/laundry area, which is located smack in the middle of the house. I know, I know….it’s a bit of a weird place to just have your washer and dryer hanging out, but I’ve got plans people, plans.
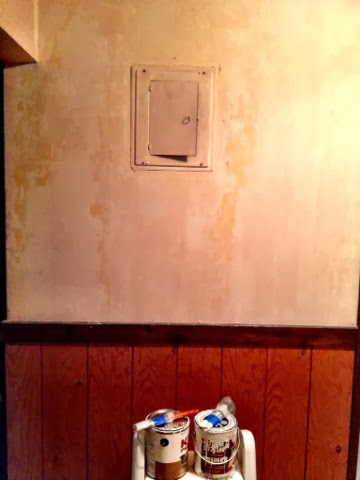
Wall paper removed, revealing some funky walls.
But until those plans are executed, I thought this wall would be a perfect place for my collage. Like in our other rooms, these walls are wallpapered (yay.) so I began by removing it. Unfortunately, the walls underneath the first section I removed were extremely beat up and rough. No amount of sanding and puttying seemed to do the trick. Bummer. I decided that the rest of the wallpaper was tacked on pretty good so gave all of the walls and wainscoting a few coats of primer in hopes that that would do the trick. I’m toying with the idea of somehow texturizing the messed up wall to help camouflage it, but for now, it is what it is.
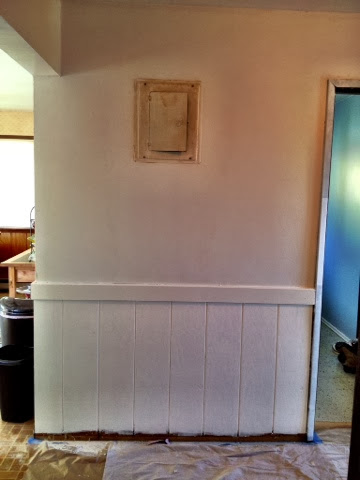
I painted the wainscoting with my white semi gloss that I’ve already used all over the house. That darn dark wood ended up taking 3 coats of primer and 3 coats of paint! And lucky me, that wainscoting carries into our kitchen too :-/ I used American White by Ben Moore from the entry and living room for the walls and painting went pretty quick. This paint color showed up super white in the hallway and less grey like it did in the other spaces. I think I’d like to go a bit darker down the road, but this is a good start.
Primed and ready for paint!
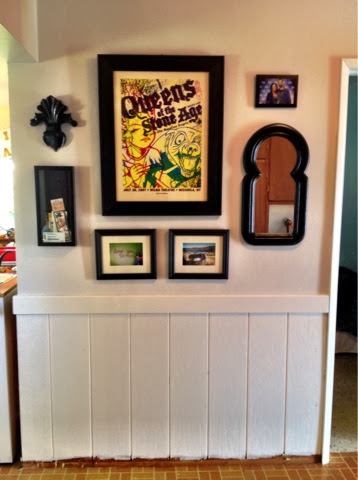
Now it was time for the fun part….I gathered up all of my various knick knacks and photos and laid them out on our kitchen floor. I arranged, re-arranged, switched out some photos, arranged some more and I still just wasn’t satisfied. I then realized it was the frame color that was throwing me off more than anything. I didn’t like how there wasn’t enough contrast between the wall color and the white frames. Gawd.
I made an executive decision and snagged my fav framed piece in the house, a Queens of the Stoneage concert poster framed in black and hung it on the wall. Oh myyyyy. So much better! Unfortunately, black frames aren’t in abundance in our house so I had to make a quick trip to the craft store to pick up a few more. For now, I think this will work, but I do plan on adding more fun (and colorful) items to the mix. That or repaint those walls :-/
 I’ve had some free time on my hands lately and have been scouring etsy for coming home outfits which made me remember that I have a sewing machine and basic sewing skills. Duh! ***Side note: why do all coming home outfits have freaking arrows on them? Please, for the love of god, no more arrows people.
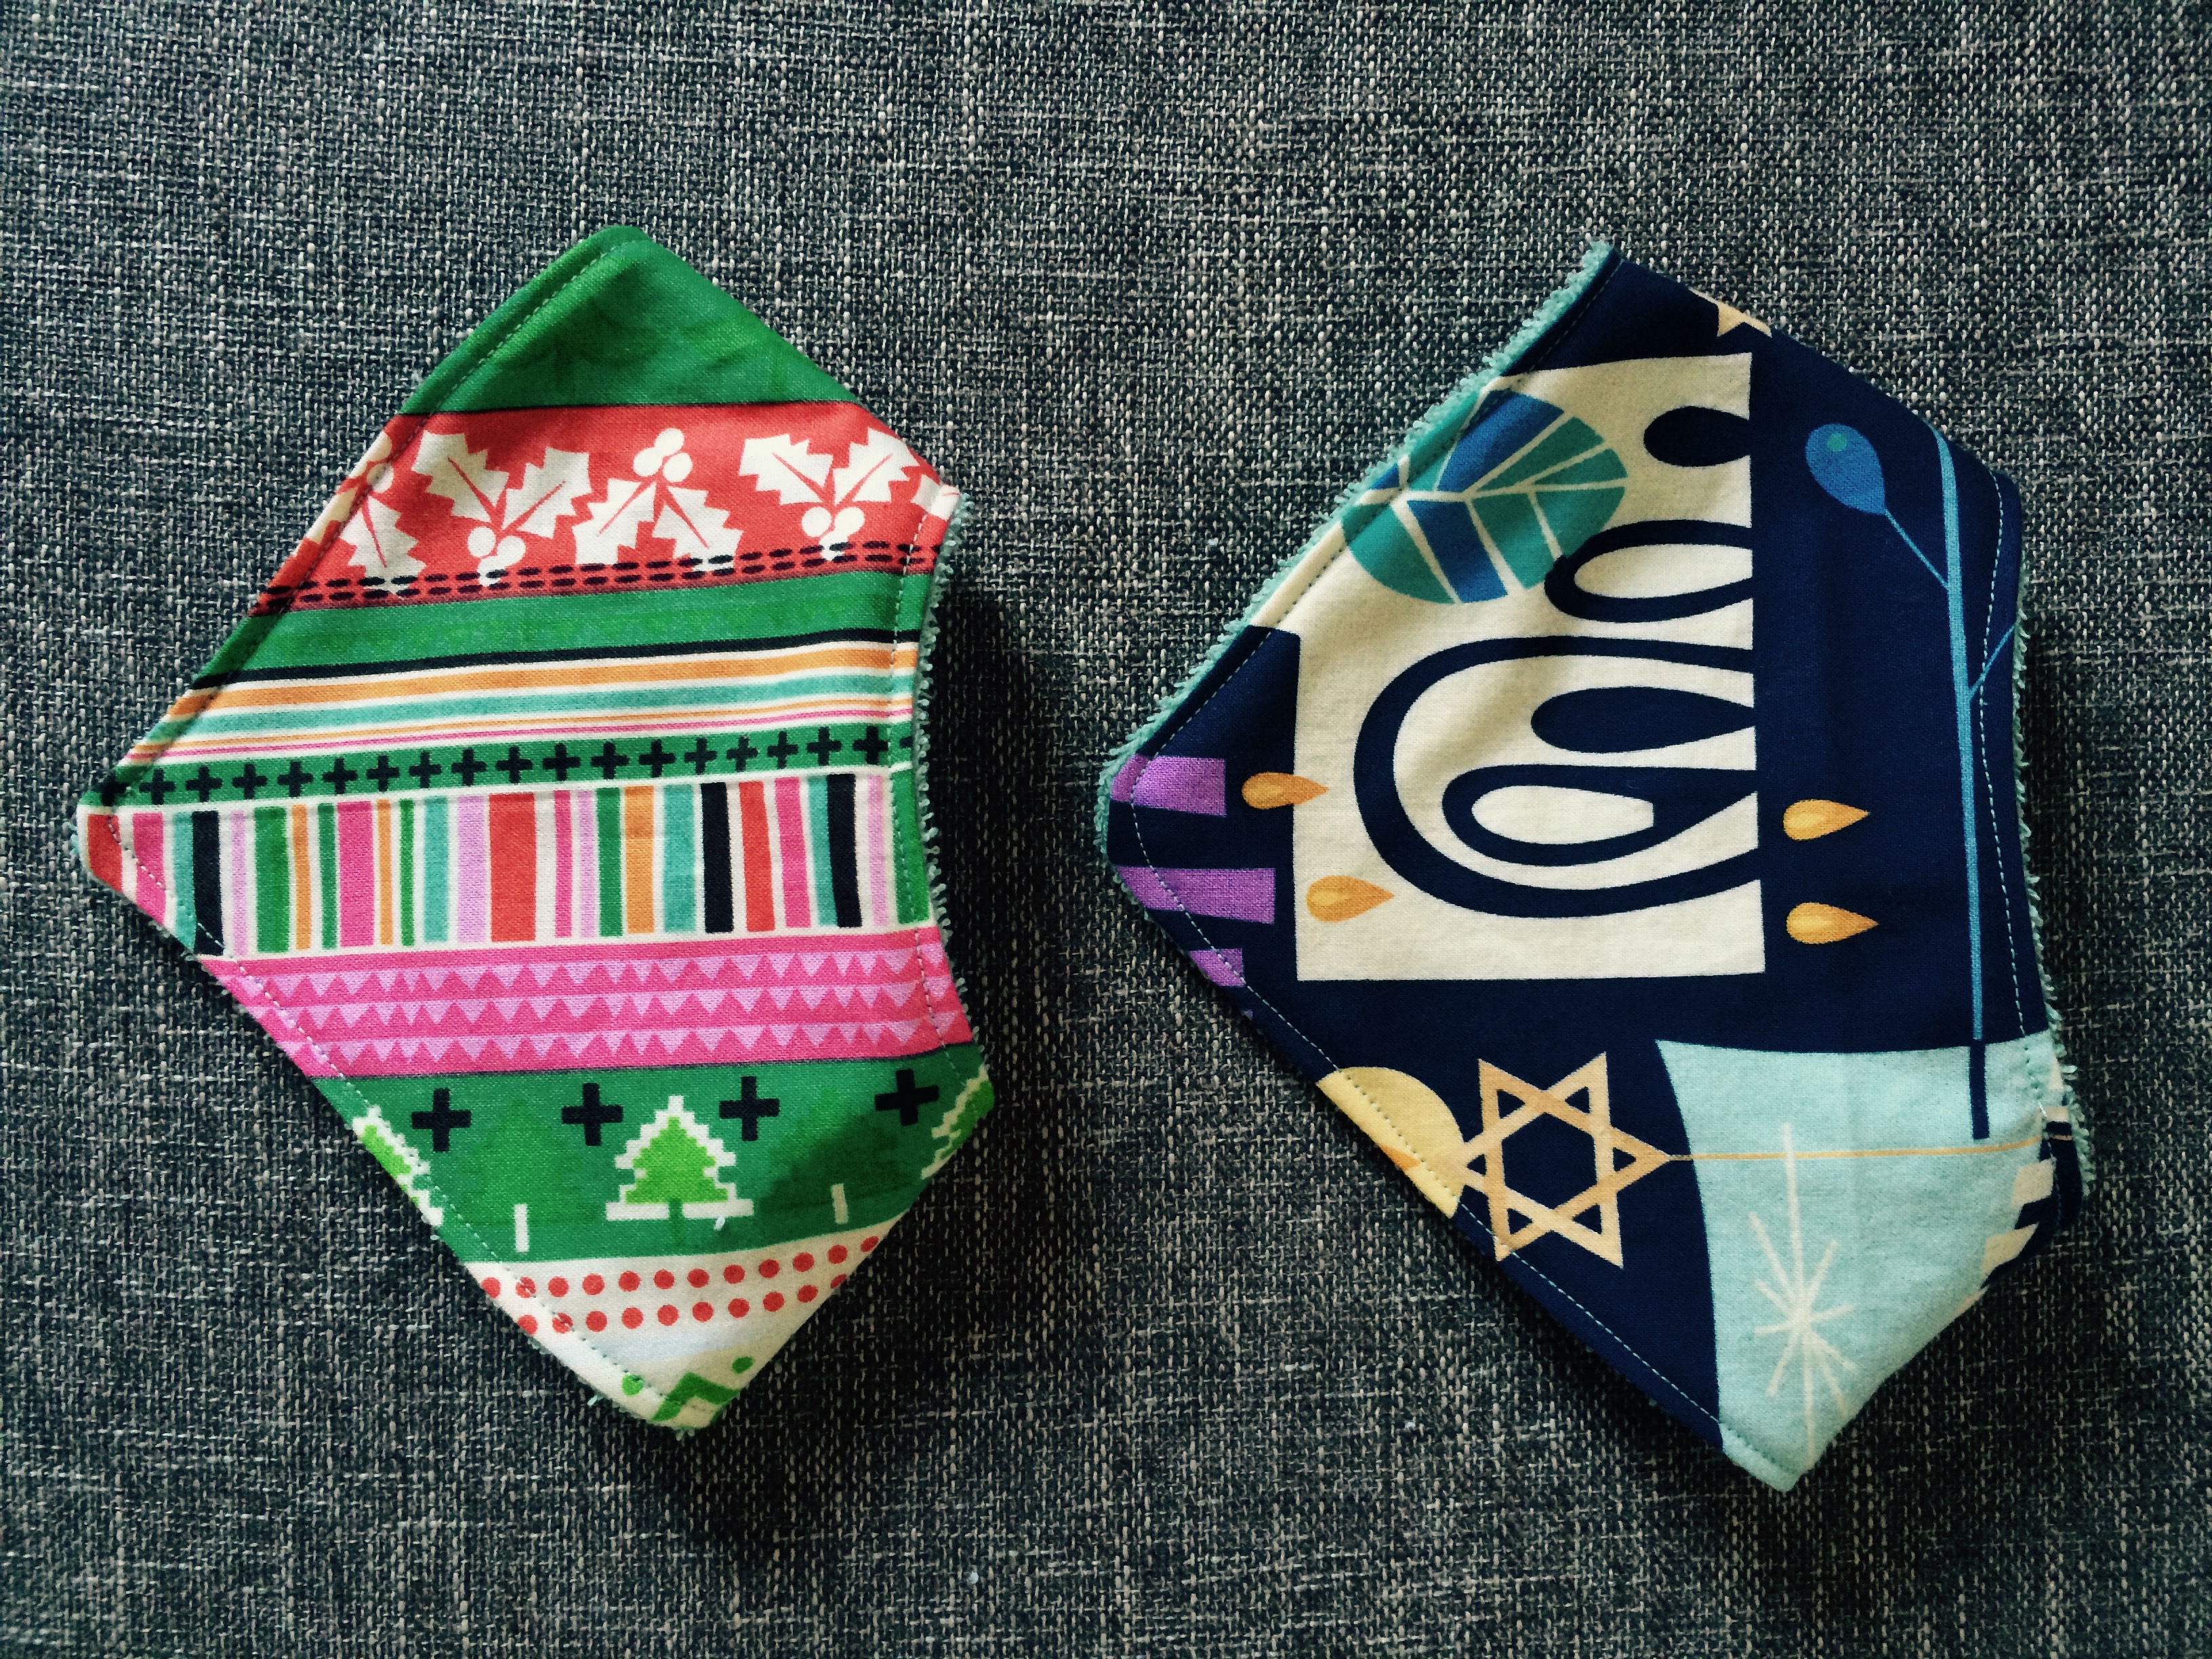 Drool bibs! Puppies? Yes. Holiday prints? Yes.